Preparation before installation
1.Valve and piping inspection
Valve verification:
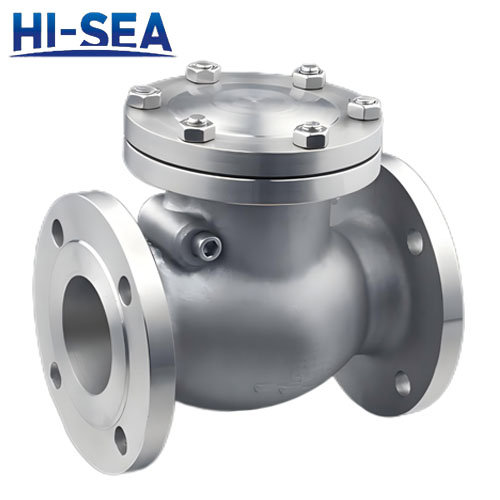
Confirm that the valve is clearly marked (pressure level, flow arrow, material, etc.) and check whether it meets API 594 standard certification.
Check whether the sealing surface, valve flap is free of scratches or foreign matter residue.
Piping suitability:
Ensure that the pipeline flange size and pressure class match the valve (e.g. Class 150/300).
Clean the inside of the pipe to avoid welding slag, iron filings and other impurities affecting the sealing.
2.Tools and safety preparation
Prepare torque spanners, flange alignment tools, gaskets (graphite or stainless steel winding gaskets are recommended).
Shut off the upstream medium and relieve the pressure, wear protective equipment (gloves, goggles).
API 594 Check Valve Installation Procedure
1.Direction and position requirements
Flow direction consistency: Strictly in accordance with the direction of the valve body arrow installation, to ensure that the valve only in the positive flow of media open.
Recommended installation location:
Pump outlet: to prevent backflow of media damage to the pump body.
Vertical pipeline: preferred vertical upward flow direction, to avoid the valve closed by gravity.
2.Clamped valve installation
Place the valve between two flanges, make sure the gasket is centered.
Diagonal pre-tightening bolts: tighten the bolts in diagonal order in 3 times, the final torque should be in accordance with API 594 specification (refer to the valve nameplate or technical manual).
Check the flange parallelism: avoid uneven pressure on the valve body.
3.Double-flanged valve installation
Align the valve flanges with the pipe flanges, insert the bolts and pre-tighten them manually.
Use torque wrench to tighten in stages according to 50%→80%→100% torque to prevent overloading on one side.
4.Post-installation test
Low-pressure test: Pass in 0.5 times the working pressure of the medium and check whether there is leakage at the flange connection.
Valve action test: manually push the valve to simulate opening and closing, and confirm that there is no jamming phenomenon.
Maintenance points of API 594 check valves
1.Periodic maintenance cycle
| working conditions |
Recommended maintenance intervals |
| Cleaning medium (water, air) |
12-18 months |
| Corrosive/particulate media |
6~12 months |
| High-frequency start/stop (>50 times/day) |
3~6 months |
2.Critical maintenance items
Seal face inspection:
Use an endoscope to observe the metal sealing surface for erosion or cracks, and the soft seal (e.g. PTFE) for deterioration.
Minor abrasion can be repaired by grinding, while serious damage requires replacement of valve flaps or sealing rings.
Valve cavity cleaning:
After disassembling the valve with non-corrosive solvent flushing, remove scale or particles (especially for slurry, residual oil conditions).
Bolt retightening:
Thermal expansion and contraction may cause the bolts to loosen, and the torque needs to be recalibrated after the first operation for 1 month.
3.Lubrication and corrosion protection
Valve stem/hinge shaft: Apply high temperature grease (e.g. molybdenum disulphide) to avoid dry friction.
External corrosion protection: Coastal or acidic environments require periodic re-coating with epoxy resin coating.
Common Failures and Solutions
| fault phenomenon |
Possible causes |
solution |
| Medium backflow |
Flap jamming or damage to the sealing surface |
Clean valve cavity or replace seal assembly |
| flange leakage |
Loose bolts or failed gaskets |
Recalibrate torque or replace shims |
| Abnormal vibration/noise |
Water hammer effect or mounting deflection |
Adding buffer tanks or adjusting pipe supports |


 What media are API valves suitable for?
 API Ball Valve: Classification of Ball Support Structure
 Why are most API valves made of stainless steel?
 How to maintain API valves
 Installation Precautions for API Valves
 Introduction to API Low- temperature Valves